 |
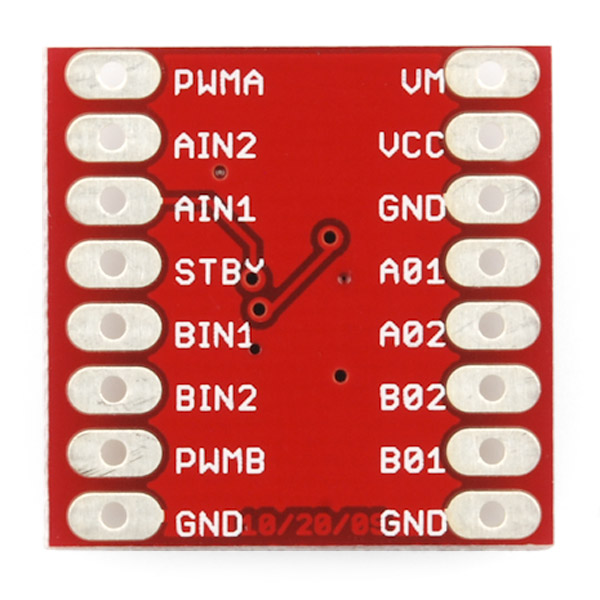
| TB6612FNG motor driver |
While they were printing, I started working on connecting the motor to the Arduino. I had bought a dual motor driver which was rated at a max current of 3.2A per channel. Seeing as each channel has a 2 motors with a stall current of 1.6A each, this was perfect for my application.
I noticed that with all the control pins on the left hand side, most of them were just digital inputs with two needing PWM. This meant that I could just solder it directly to the Arduino as there was a position that had PWM pins the right number of pins apart.
With this soldered on as so, and a program found off the internet, I downloaded it into the Arduino. It worked as planned, with the motors doing the movements as specified in the program.
 |
| Aruino with motor driver and 5V regulator |
Once figured out this was quite a simple fix and only involved powering VCC from the supply with a 5V regulator. When done the program would work correctly even when not plugged into the USB connection.
The next problem I have come across is how to attach the wheels to the motor. Because the wheels are Lego and the motors are not, they do not fit well. The motors have a notch in them so a good solution I thought was to make a Lego axle with a hole in it to fit the motor. I tried this but the 3d printer did not have enough accuracy to print it well enough. The next idea was to make my own rim. I designed it and printed it. However when done, although fitting the tyre well, the 3d printer could not print of the circle with a notch it well enough, meaning the motor could not fit on to it. After this, I then just chose to glue the wheels in place. Although not ideal this was the best way to do it and seems to be strong enough so far.
With this done I now have a robot that looks and drives like this:

No comments:
Post a Comment